
Moving Your Hetzner Load Balancer IP Between Projects
A guide on retaining your Hetzner Load Balancer's public IP when migrating to a new project.
Recently I needed to move my Kubernetes workloads to a new Hetzner project. I wanted a fresh start, feeling it was more secure to build a new Kubernetes cluster from scratch instead of trying to fix an old one.
One of my concerns was keeping the public IP of my Hetzner Load Balancer to avoid widespread DNS updates.
I asked Hetzner support if a load balancer or its IP could be moved between projects. Direct transfers are not possible, but they suggested a good solution.
Delete, Wait, Recreate
If both projects are under the same account, you can move the IP with these steps:
-
Delete the Load Balancer: In your original project (Project A), delete the load balancer with the IP you want to keep.
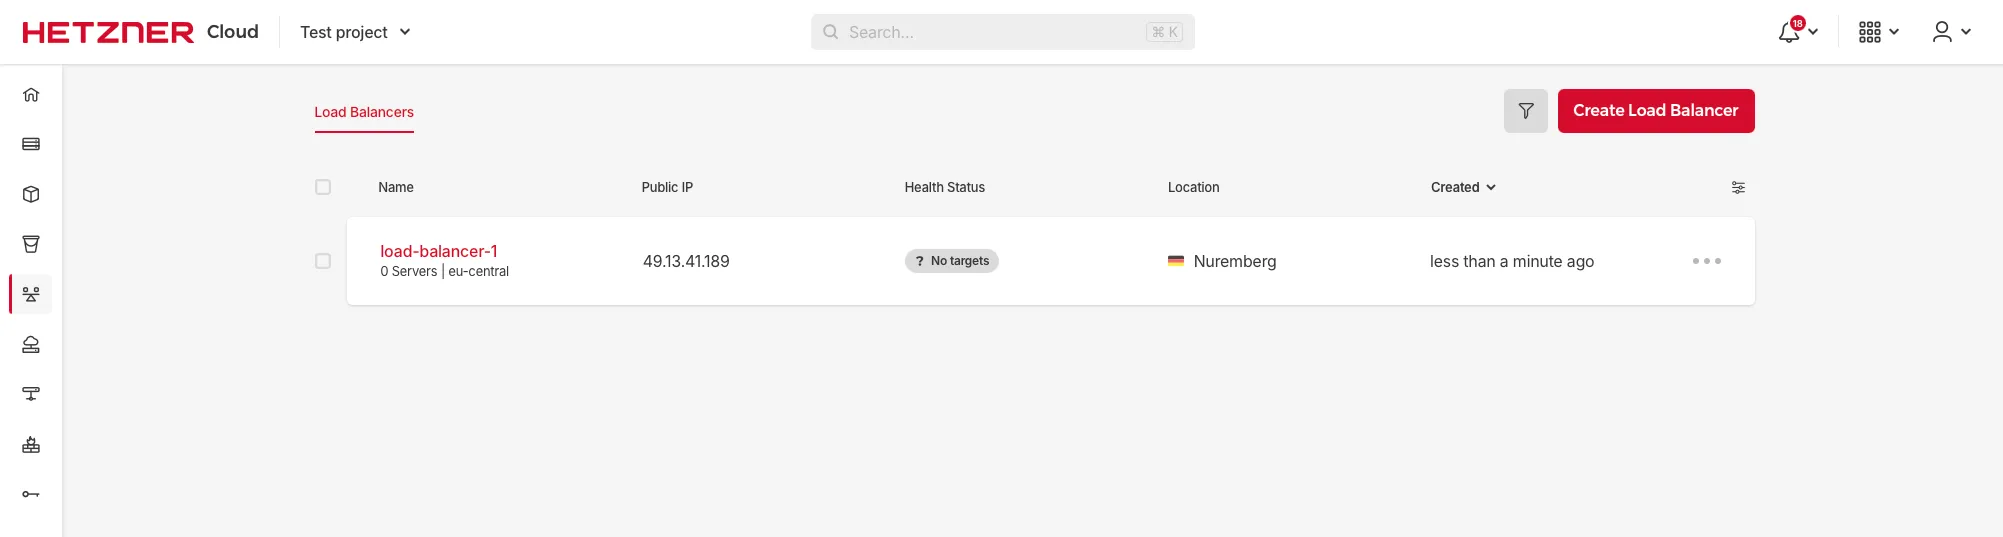
Your load balancer in Project A before deletion.
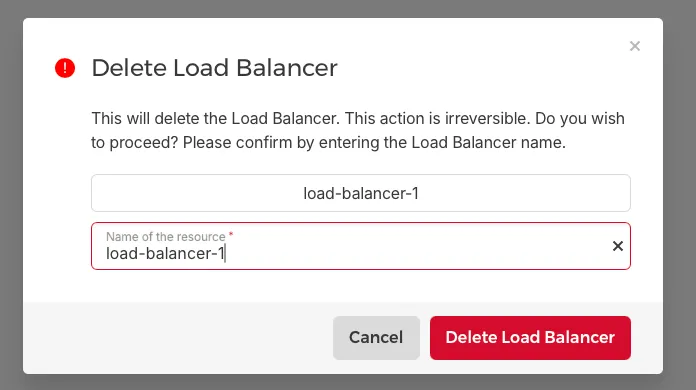
Confirm the deletion by typing the load balancer’s name.
-
Wait briefly: This step is important. Wait about two minutes to allow Hetzner’s systems to release the IP.
-
Recreate the Load Balancer: In your new project (Project B), create a new load balancer. Make sure to create it in the same location (like Falkenstein, Nuremberg, or Helsinki) as the original.
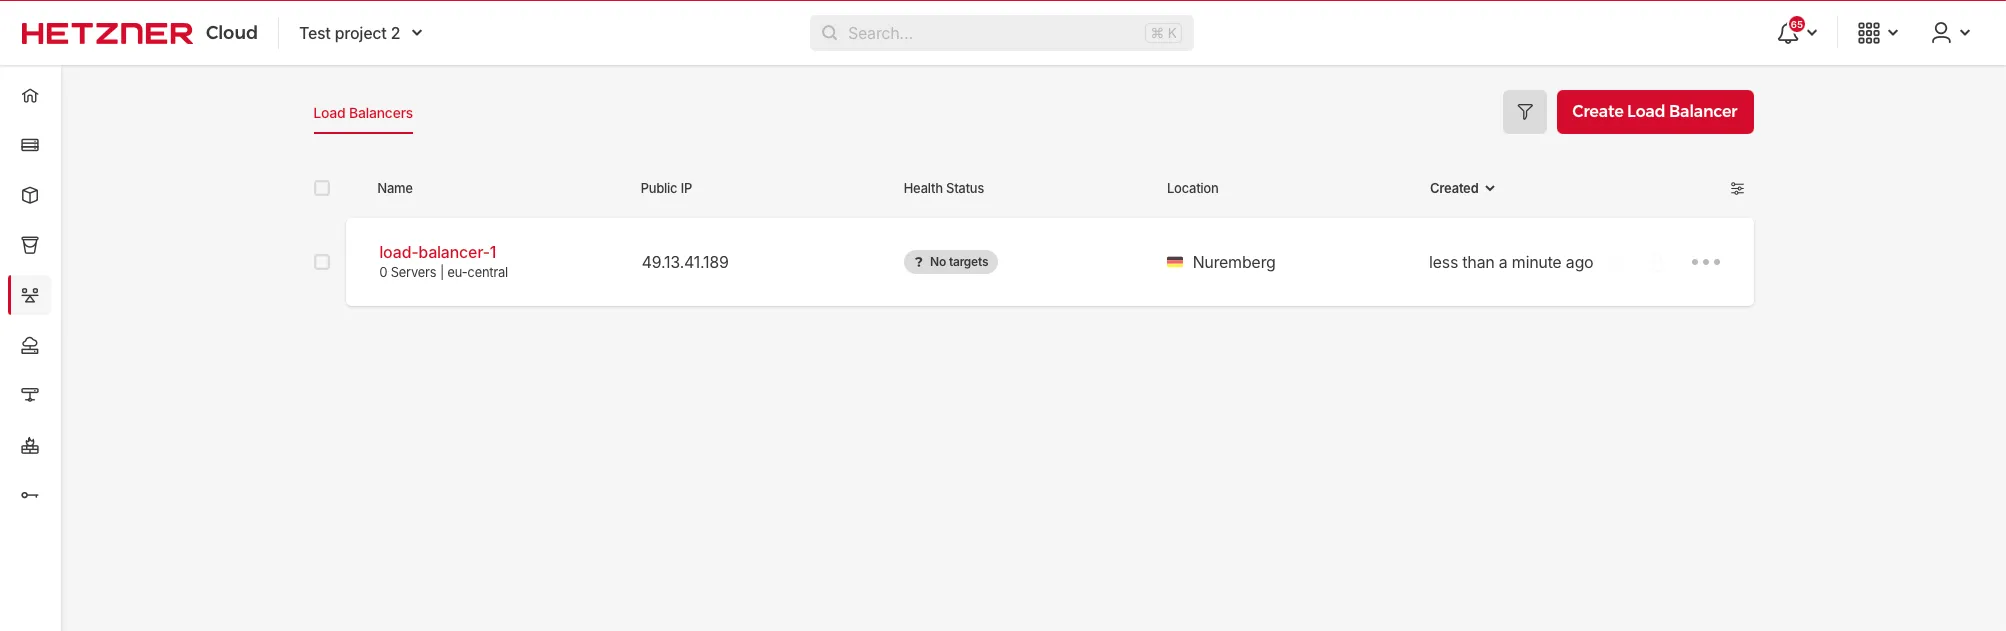
The load balancer successfully recreated in Project B, having acquired the previous IP.
If done correctly, the new load balancer in Project B will automatically pick up the IP address from the one you deleted in Project A.
This process was quite straightforward. It let me move my services to the new Kubernetes cluster without changing IP addresses, which was very helpful.